Introducing the Django Admin
Creating an admin user
First we’ll need to create a user who can login to the admin site. Run the following command:
>> python manage.py createsuperuser
Enter your desired username and press enter.
>> Username: admin
You will then be prompted for your desired email address:
>> Email address: admin@admin.com
The final step is to enter your password. You will be asked to enter your password twice, the second time as a confirmation of the first.
>> Password: **********
>> Password (again): *********
>> Superuser created successfully.
Start the development server
The Django admin site is activated by default. Let’s start the development server and explore it.
If the server is not running start it like so:
>> python manage.py runserver
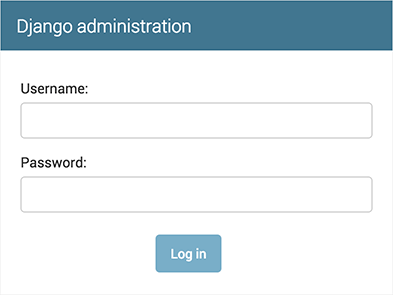
Now, open a Web browser and go to “127.0.0.1:8000/admin/”. You should see the admin’s login screen:
Enter the admin site
Now, try logging in with the superuser account you created in the previous step. You should see the Django admin index page:
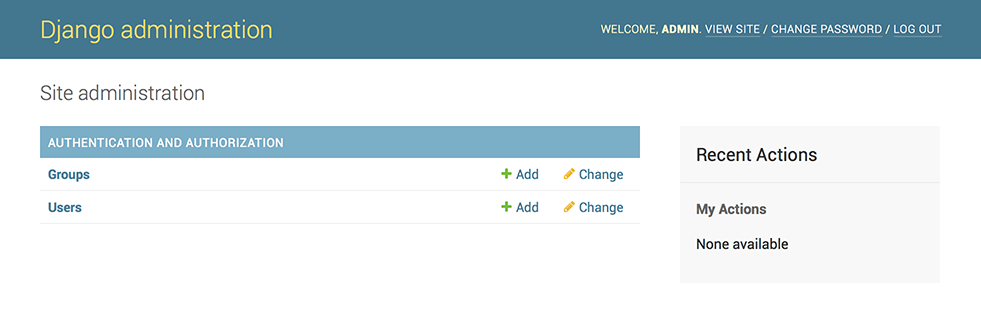
You should see a few types of editable content: groups and users. They are provided by django.contrib.auth, the authentication framework shipped by Django. We will not use those in this tutorial.
Make the website app modifiable in the admin
To do this, open the website/admin.py file, and edit it to look like this:
from django.contrib import admin
from .models import User, Product, Auction, Chat, Watchlist, Bid

# Register your models here.
admin.site.register(User)
admin.site.register(Product)
admin.site.register(Auction)
admin.site.register(Chat)
admin.site.register(Watchlist)
admin.site.register(Bid)
If we refresh the admin site we should se our models.
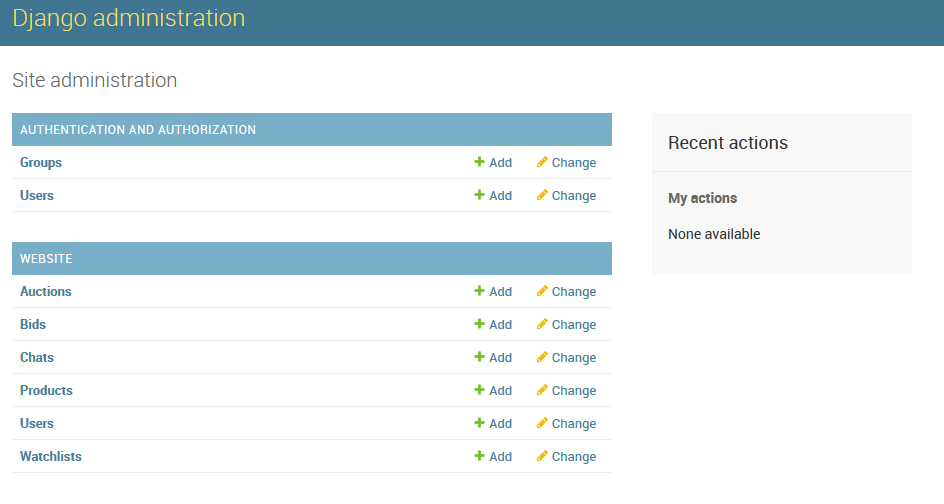
From the admin website we can manage the database records. We can edit, delete and add records.